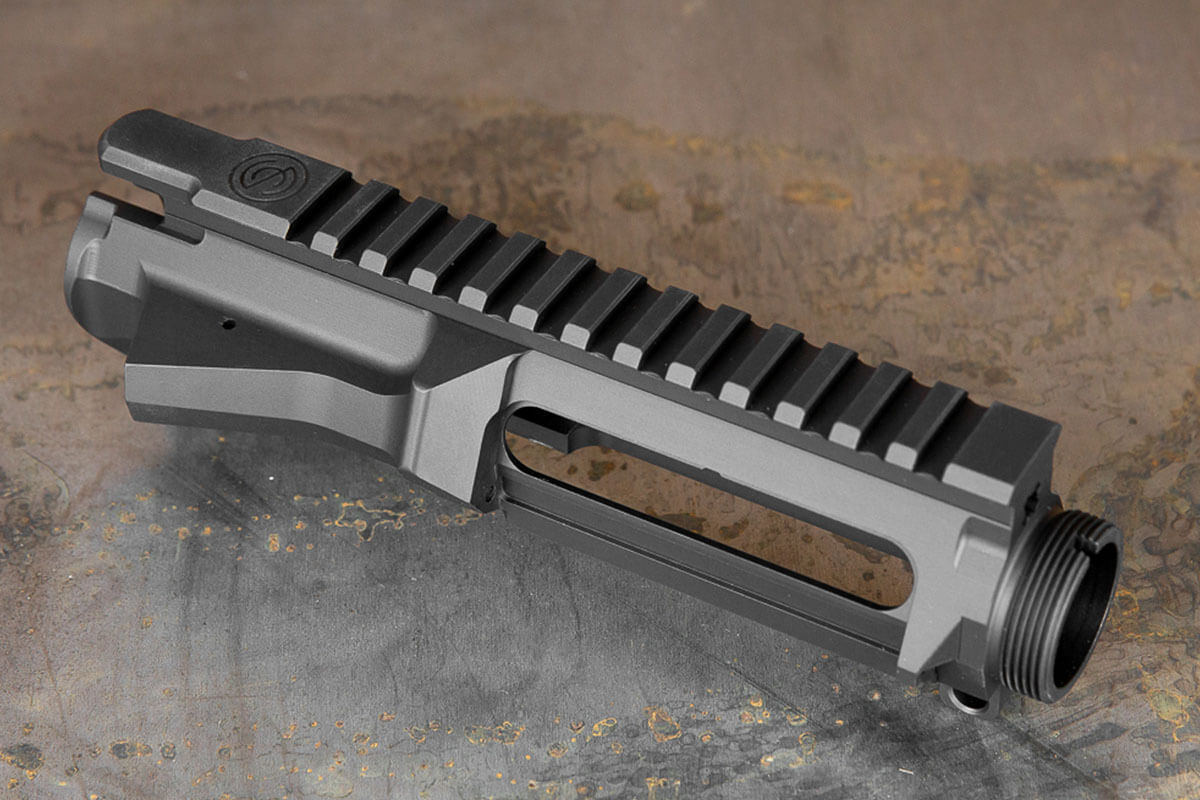
Customizing your AR15 upper with a camouflage paint job is not only a fun and creative endeavor but also a practical approach to enhancing concealment in various environments. Painting your AR15 upper can be a rewarding do-it-yourself (DIY) project, providing both a personal touch and functional benefits. Here’s a guide to help you achieve an effective and visually appealing camouflage finish.
1. Preparation and Disassembly
Before you start painting, disassemble your AR Uppers to ensure a thorough and even application. Remove any accessories, optics, or components that you don’t want to be painted. Clean the surfaces to be painted thoroughly to remove any grease, oil, or debris that may interfere with the paint’s adhesion.
2. Choosing the Right Paint
Selecting the right paint is crucial for achieving a durable and effective camouflage finish. Consider using specialized firearm paint designed to adhere well to metal surfaces and withstand the rigors of regular use. Matte finishes are generally preferable for reducing glare and reflections that could compromise your concealment.
3. Camouflage Patterns and Techniques
There are various camouflage patterns and techniques you can employ, depending on the environment in which you intend to use your AR15. Popular patterns include woodland, desert, digital, or even a combination of colors that match your local surroundings. Use stencils, netting, or leaves to create irregular patterns and textures, enhancing the natural look of your camouflage.
4. Layering and Blending Colors
Layering different colors is essential for creating an effective camouflage pattern. Start with a base color that matches the predominant environment, then layer on additional colors to mimic shadows, highlights, and natural textures. Blending the colors with a light touch helps achieve a realistic and seamless appearance.
5. Allowing for Drying Time
Patience is key when painting your AR15 upper. Allow each layer to dry thoroughly before applying the next. Follow the manufacturer’s recommendations for drying times and curing to ensure the longevity of your paint job.
6. Protective Finishes
Once you’re satisfied with your camouflage pattern, consider applying a protective clear coat or sealant to safeguard the paint from wear and tear. This step helps preserve the finish and ensures that your DIY camouflage remains effective over time.
7. Reassembly and Testing
After allowing ample time for drying and curing, reassemble your AR15 upper, ensuring all components are securely attached. Test the functionality of your rifle and optic to make sure the paint hasn’t affected any moving parts or adjustments.
In conclusion, painting your AR15 upper for concealment is a DIY project that combines creativity with functionality. By following these steps and choosing the right materials, you can achieve a customized camouflage finish that enhances the visual appeal and effectiveness of your AR15 in various environments.